Now when more and more people are working from home and meetings are held online, different ways of sharing content becomes really important. It is totally different to share content online than sharing it with second screen on meeting rooms. Microsoft Teams provides several different methods, from which you can choose the best option for sharing your content on meetings.
Sharing is started from the meeting toolbar by clicking Share. It opens up a sharing toolbar, where you pick how and what content your wish share.
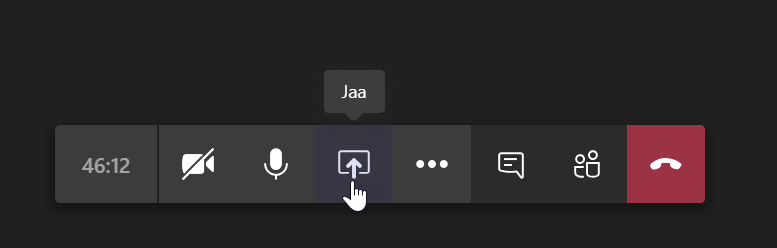
There are four default methods for sharing available on sharing toolbar: Desktop, Window, PowerPoint and Whiteboard. If you are using browser for hosting the meeting, Window sharing is not available.

Sharing Your Desktop
Desktop sharing displays the entire contents of the selected screen. If you switch to another app on the shared screen, its contents will be also displayed to the participants. When you share your desktop at a Teams meeting, it is a good practice to plan in advance what content and applications you want to show to attendees.
If you have more than one screen available, you may want to move the content and apps whose content you want to present to a screen you plan to share and move the other apps to another monitor. This saves you from extra adjustments and accidents during the meeting.
You can find desktop sharing on the left side of the sharing toolbar.
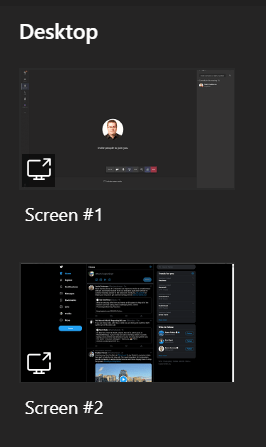
All your available screens with thumbnails are displayed. When you make a selection, it is shared with the meeting participants and the Teams window automatically minimizes.
Sharing an App
Sharing the content of an individual application to a meeting takes place in the Window section of the sharing toolbar. The window sharing option will display the applications that you currently have open. The thumbnails will show what is currently visible in the application.
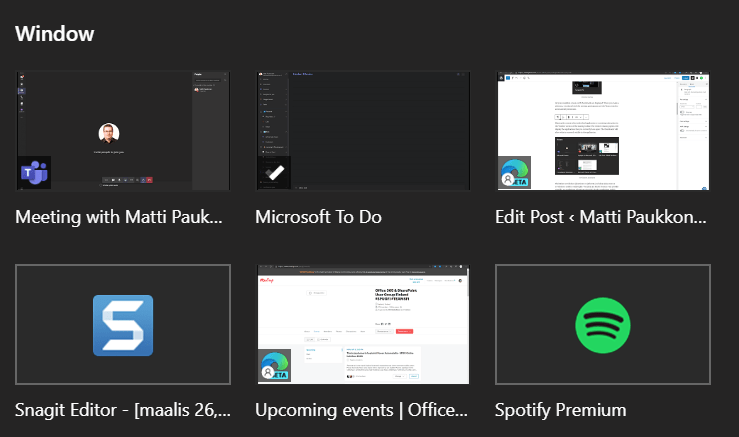
Use Window sharing when you want to present content of a single app on meeting. Especially if you only have one screen available sharing an app is useful because the content of the app is displayed to participant even if you have something else on top of that app on your screen. For example, when sharing a web browser, you can check the meeting discussion for questions or comments. Participants will only see your mouse movements.
PowerPoint Presentation
Teams shows you the latest PowerPoint presentations you have been working with.
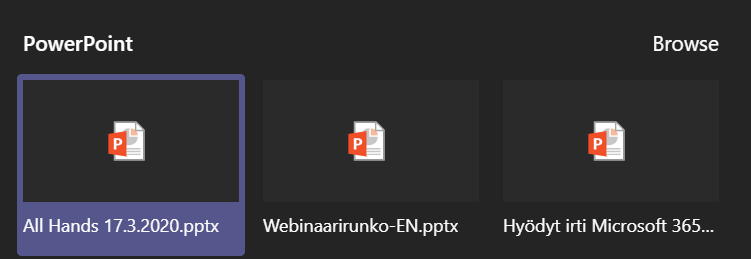
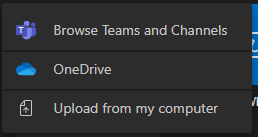
The Browse button lets you search for presentations from teams, from your OneDrive, or upload a presentation from your own computer.
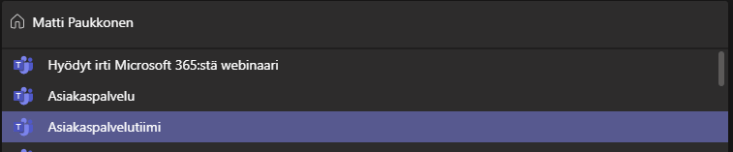
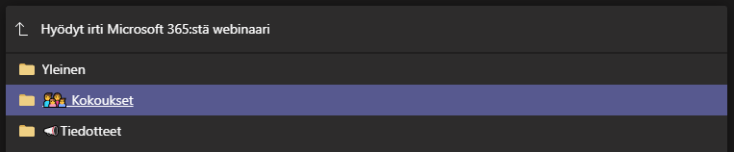
You can browse Teams and Channels you are a member of.
The OneDrive option displays the contents of your OneDrive.
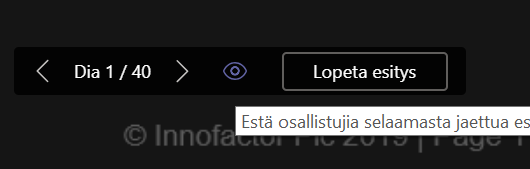
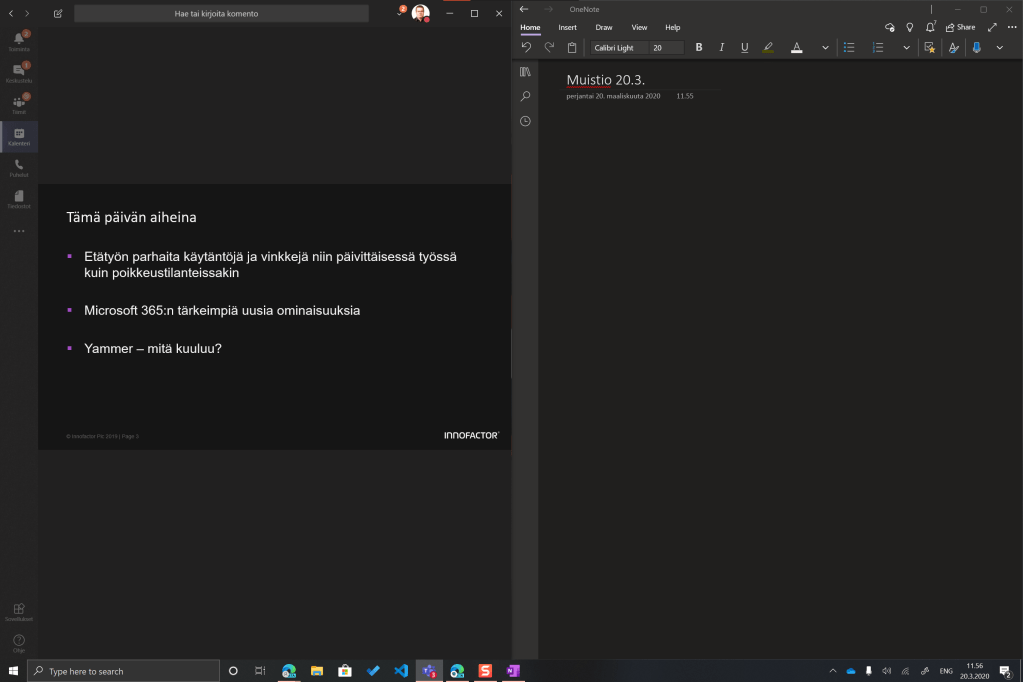
By default, meeting attendees can browse the PowerPoint presentation independently, you can block this presentation from the eye icon at the bottom left. In the same place you will also find the browse buttons and the end presentation button.
This is the best option for presenting PowerPoints. For example, if you only have one screen available, you can split it into to two and, for example, have the presentation on the left and OneNote for meeting notes on the right. Participants will see the presentation in full size. You can also control the presentation in the small window.
Whiteboard
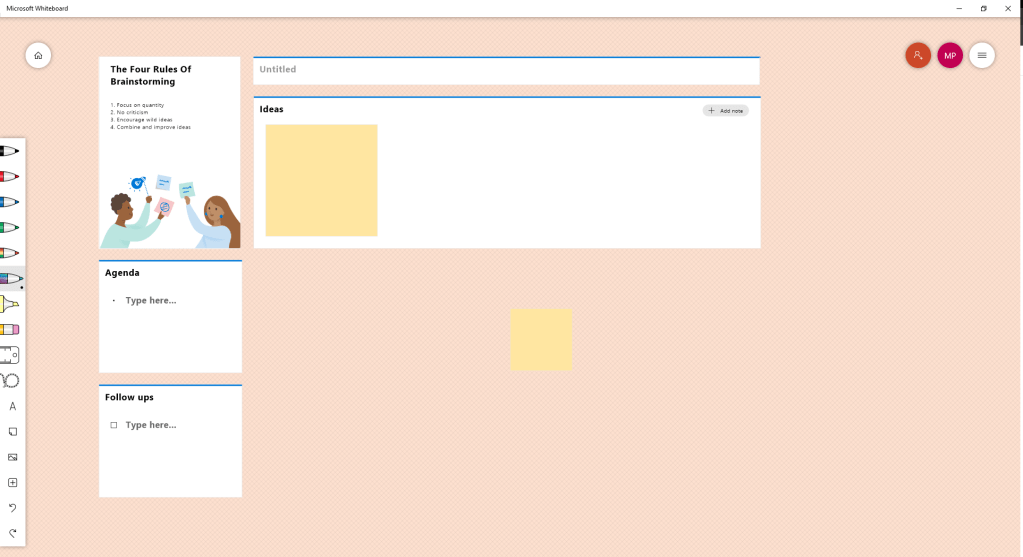
You can find Microsoft Whiteboard in the meeting sharing toolbar in the Whiteboard section. Currently, a few pens, rubber and move functionality can be found on the Whiteboard of the meeting. You can draw on the Whiteboard with either a mouse or a stylus.

To use the advanced features of Microsoft Whiteboard, open the application from Windows, create a new Whiteboard, and share it as an application to the meeting.
You can also share the created Whiteboard to members of your organization and they can start collaborating on the same board with you.
Presenter and Attendees on the Meeting
On a Teams meeting, by default each participant can share his or her own content and outdo the ongoing sharing. Presenter rights can be set directly in the meeting attendance list and in advance by meeting options.
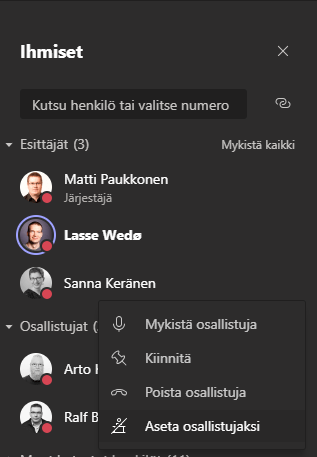
The attendee list can be opened in the meeting settings bar.

To set an individual user as a attendee, right-click on the user name and select Set as Attendee.
If you need to set up presenters in advance, you can access the meeting settings from Teams calendar by opening the calendar entry and click on the Meeting options below tabs.

From Outlook, you can access meeting settings by clicking the Meeting Options link in the meeting invitation message.

The meeting options open in the browser.
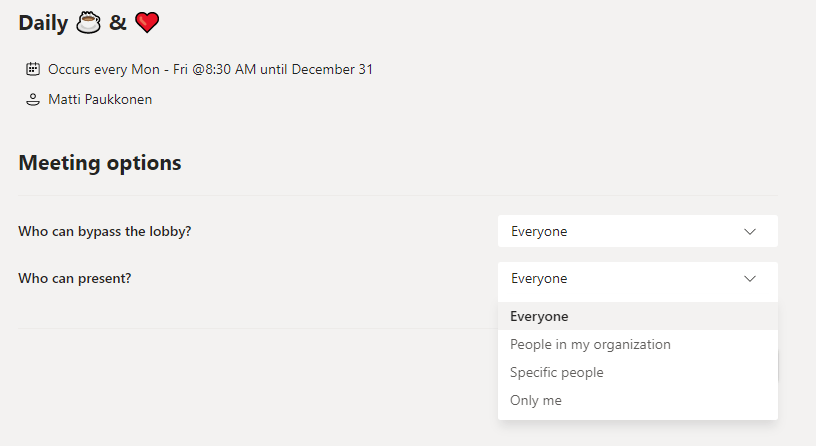
On who can present selection you can define presenting rights for everyone, just for people in your organization, select specific people from people invited to the meeting or just only for you. Presenters right can still be controlled during the meeting.
Checklist for Success
- For PowerPoint presentation share the presentation only. You can use split screen and let people browse the presentation, if they join in late to the meeting.
- For presenting an app, for example on trainings or webinars, use Window sharing option. People will only see content of your app, even if you have something on top.
- For demonstrating different apps use desktop sharing. Plan your session in advance, and if you have two or more screen, place the apps you are going to present to one of your screens.
- If you are using desktop sharing, close unnecessary apps and separate browser tabs you plan to present on separate browser window to prevent accidentally sharing unwanted content to the meeting.
- When hosting large meetings, trainings or webinars, define presenters in advance.
Discover more from Enabling the Future of Work with Matti
Subscribe to get the latest posts sent to your email.

Thanks for the great article!!
LikeLike
Wow
LikeLike
Thanks for this. Do you know if it is possible to share your screen with specific people rather than all attendees?
LikeLike
The screen is always shared for all attendees.
LikeLike
I’m amazed, I must say. Rarely do I encounter a blog that’s both equally educative and amusing, and without a doubt, you’ve hit the nail on the head. The issue is something too few people are speaking intelligently about. Now i’m very happy that I found this in my search for something regarding this.|
LikeLike
I’m not that much of a online reader to be honest but your sites really nice, keep it up! I’ll go ahead and bookmark your site to come back later. Cheers|
LikeLike
Thanks for sharing your thoughts. I truly appreciate your efforts and I am waiting for your further post thanks once again.|
LikeLike