Microsoft Mesh immersive meetings entered the Public Preview phase in early October, and now organizations can begin experimenting with the possibilities of immersive meeting spaces. Meeting space customizations using no-code tools or creating custom meeting spaces from scratch with Unity were released to preview at the same time, so organizations also can start building their custom immersive experiences as well. In this blog post, I will dive into the basics of entering the Mesh using the Teams desktop client and with Meta’s Quest 2 virtual reality headset.
General availability in January 2024
Immersive spaces will be generally available on January 2024.
Requirements:
- Windows PC or Meta Quest VR device
- 4 cores and 8GB’s on RAM
- Licensing: Teams Essentials, Microsoft 365 Business Basic / Standard / Premium / E3 / E5, Office 365 E1 / E3 / E3
- New Teams client
You need an avatar
First thing is to prepare your personal Avatar if you haven’t yet done so.
The avatar can be created when joining the immersive meeting, of course, but it might take some time to fiddle with different appearance choices and personalize it, so I recommend doing it beforehand. It’s also possible to just pick an Avatar template and go with it the first time. Avatars are created on the Avatars Teams app, which can be opened from the left rail or directly on the meeting’s avatar settings. Check my earlier blog for details: https://mattipaukkonen.com/2023/05/24/mesh-avatars-for-microsoft-teams-meetings/
Immersive meetings in Teams desktop app
How to join immersive meetings
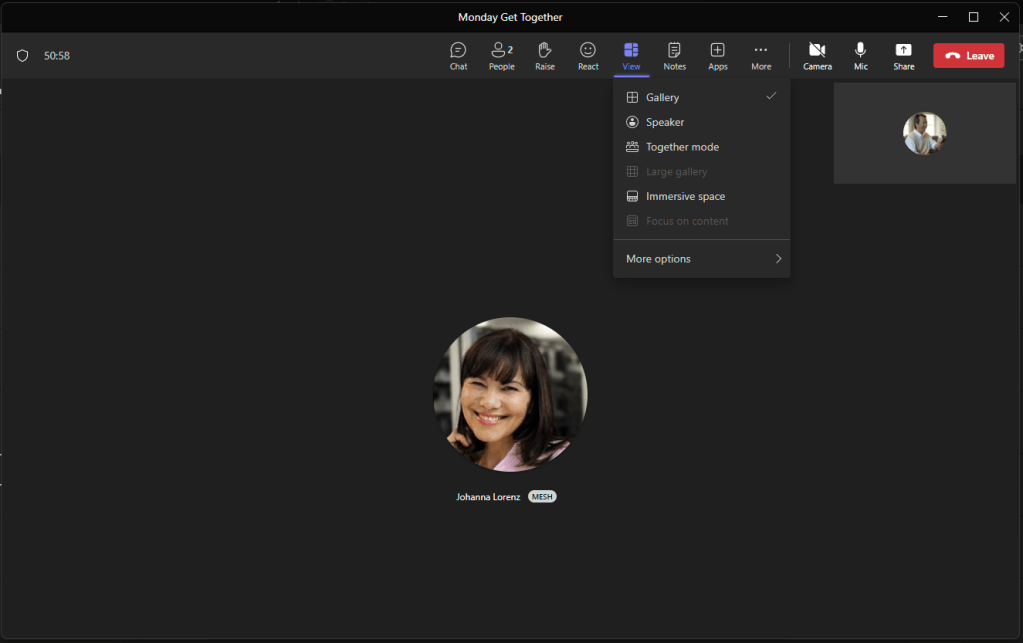
Joining the Mesh-enabled meeting is like joining any meeting. Users can switch to the immersive meeting space from the View menu’s Immersive space option. In the meeting area, users can see who has already joined the immersive space by looking for a small MESH indicator next to a person’s name.
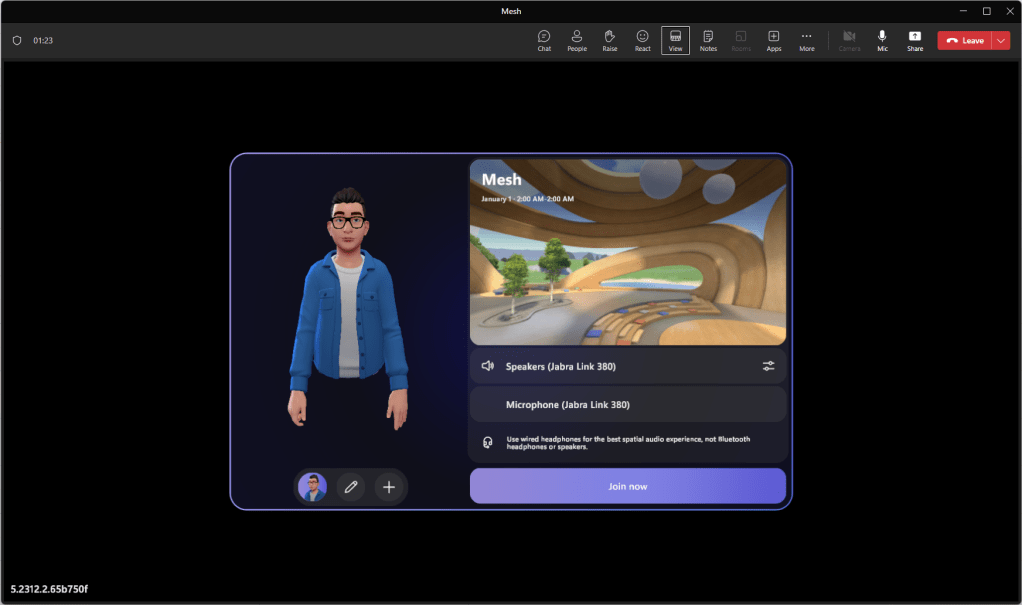
On the immersive space join screen, participants can choose an avatar, modify an existing one, or create a new one, and select audio devices to be used. It is recommended to use a good quality headset for a better spatial audio experience. With spatial audio, users can recognize the direction of sound and perceive the audio level as it changes depending on their distance from the sound source. This allows for multiple discussions to take place simultaneously in the same immersive space. Participants can walk around and join interesting discussions by getting closer to them.
The meeting space
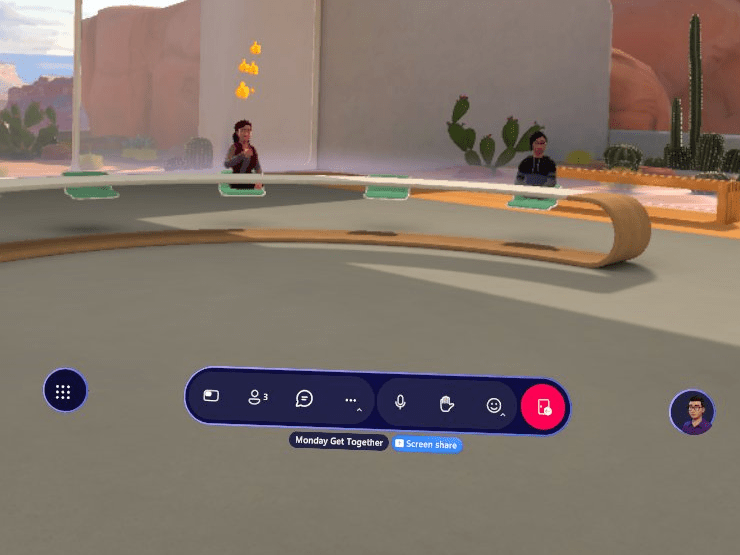
After joining, participants will land on the chosen meeting space.

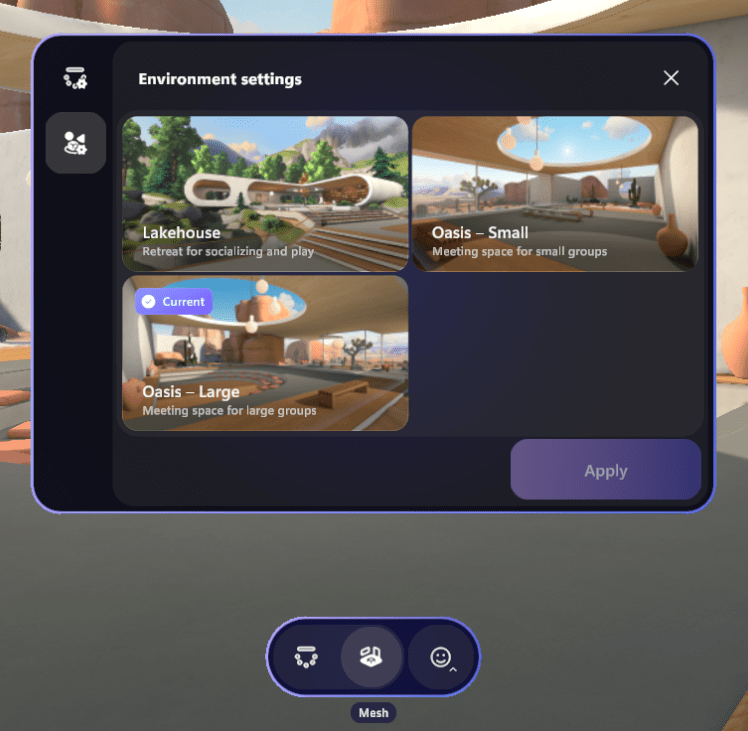
Currently Microsoft supplies three different immersive meeting spaces: Lakehouse, small Oasis, and large Oasis. The Lakehouse is more of a get-together space. Oasis spaces can be used more focused on for meetings, roundtables, or more formal events. All the spaces have a meeting area and other hand around areas.
Each space has different seating arrangements, and the possibility to switch the layout of the arrangement based on the format of the event. For example, when focusing on shared content, like in Teams meetings, a table or horseshoe layout is a good choice. When having focus groups, the layout could be a round table. Participants can pick their seat from the seating layout or just click the seat they want to sit on.
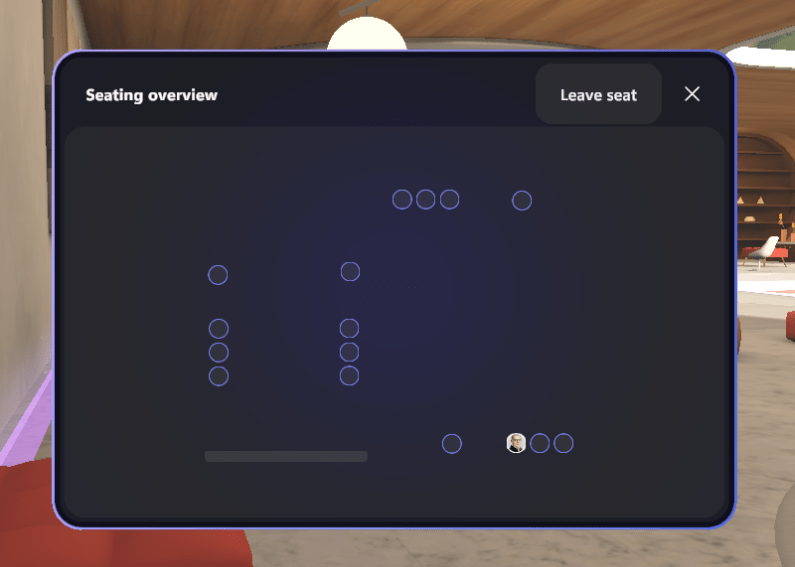
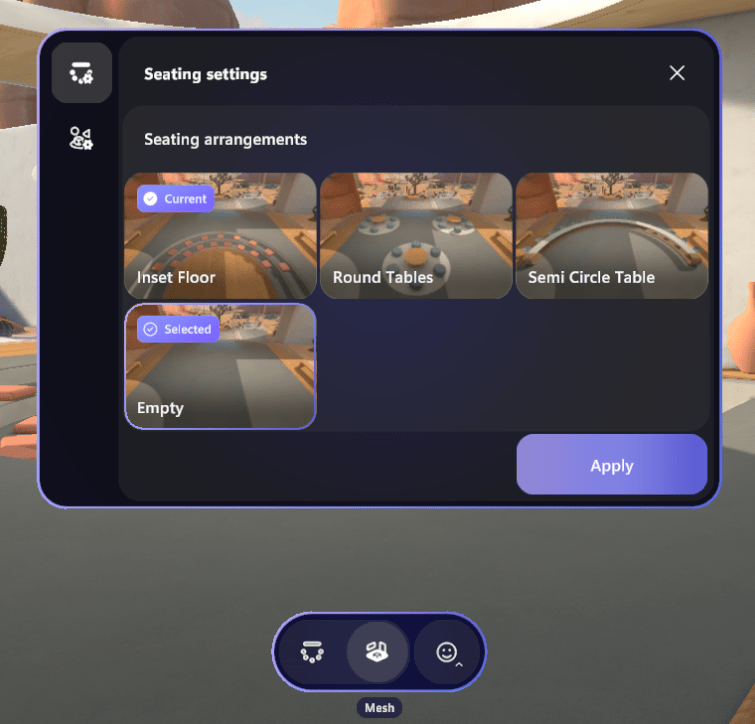
Available seats have a visual cue, like the bench in the image below and participants can take a set just clicking the cue.

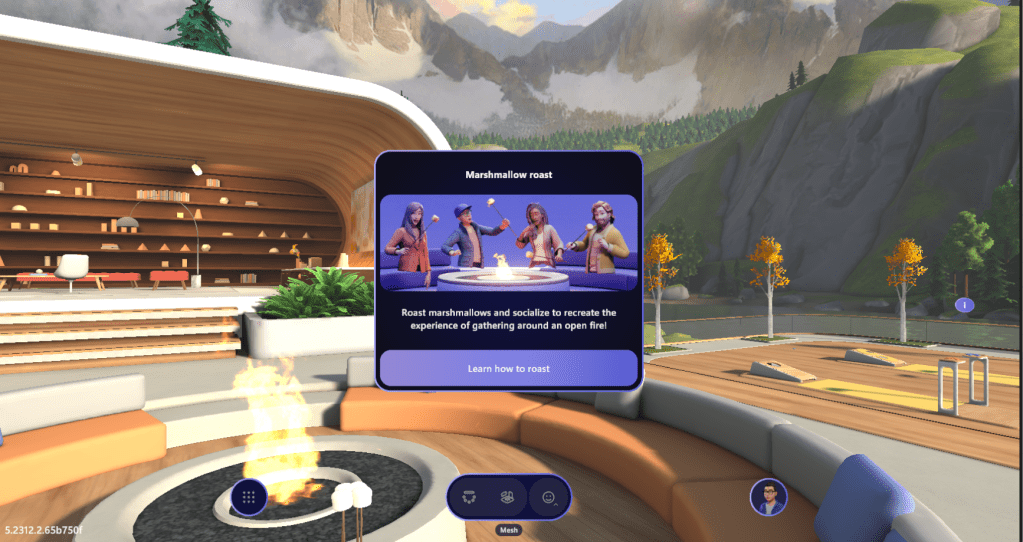
Spaces also have some fun experiences like cooking marshmallows or throwing beanbags. These can be controlled by grabbing an actionable item with the mouse.
Controls
Both the mouse and keyboard are required for controlling the avatar. The mouse is used to look around by left clicking and dragging the view. Moving forward, back, left, and right are handled with WSAD keys, and Q and Q are used for turning left and right. Teleporting is done by holding the left mouse button or using T. The third-person view can be toggled with V.
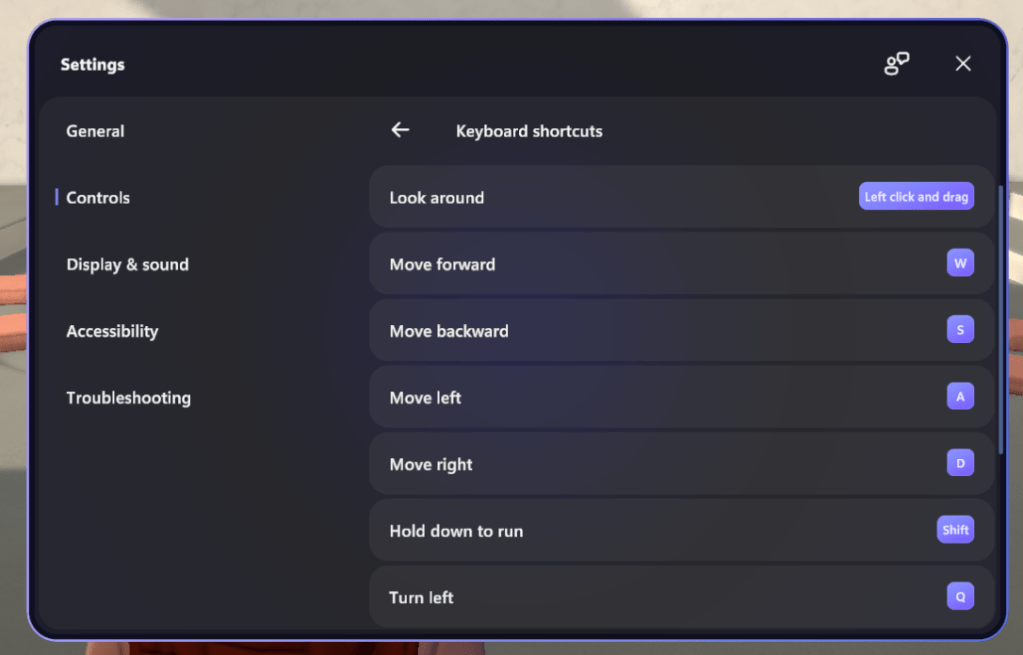
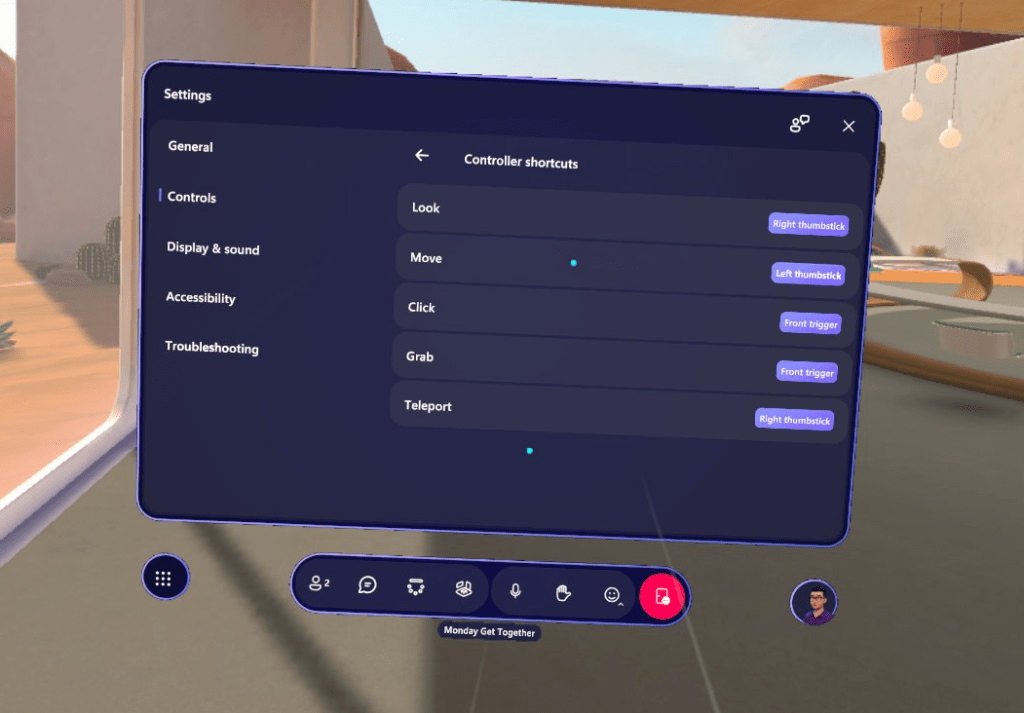
Keyboard shortcuts and commands can always be checked from Mesh app’s settings.
Reactions and handraises
Avatars mimic reactions, which are also visualized on top of the avatar. Reactions are also shown on the traditional Teams meeting. Hand raises as well are visualized on top of the avatar.
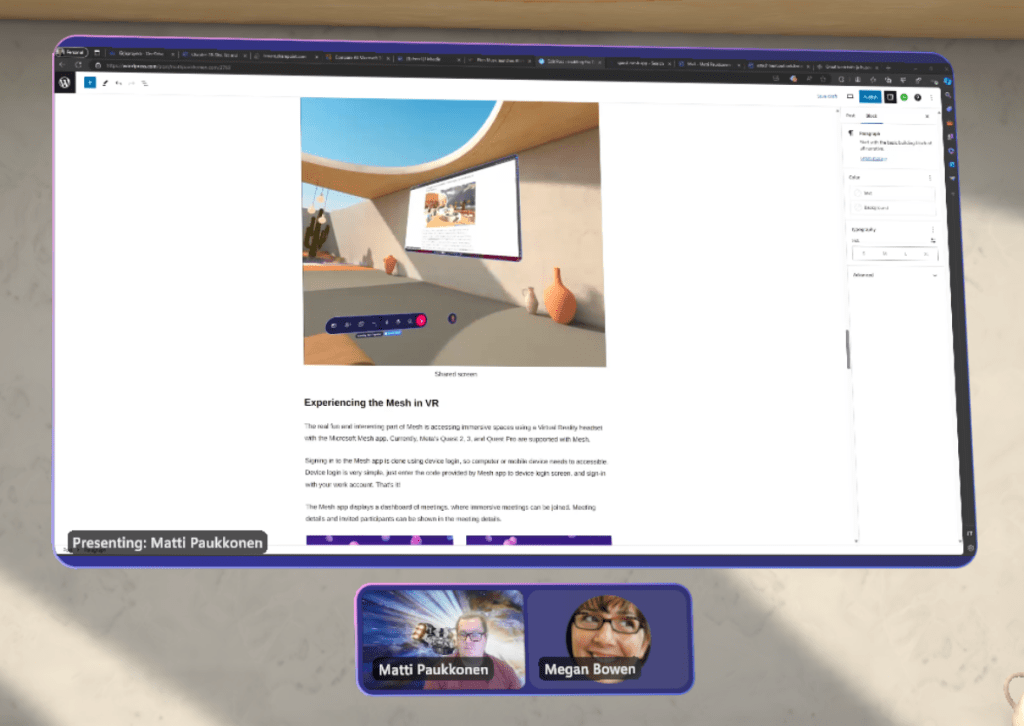
Sharing content
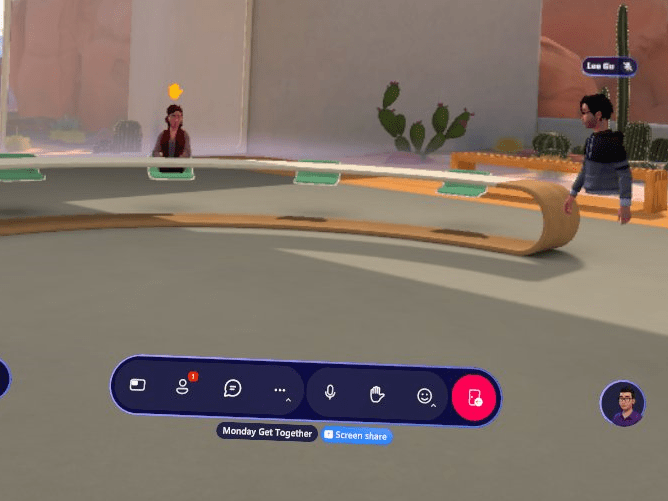
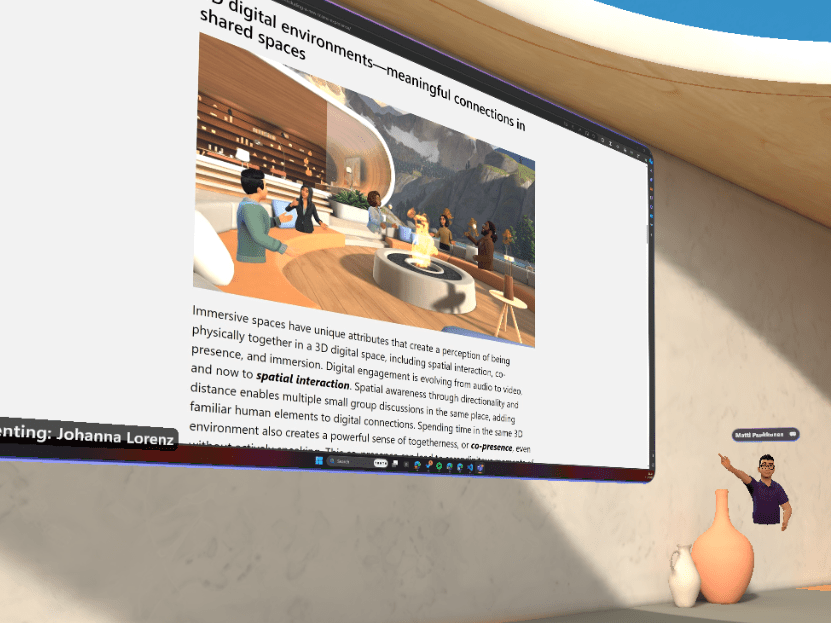
Participants using the Teams desktop app can share content, just like in traditional Teams meetings. The shared content will appear on the screen share area, which is marked as a bar on the seating arrangement. Currently, the person who shared the content cannot see it in space, but I am confident that this will be changed before the worldwide release.
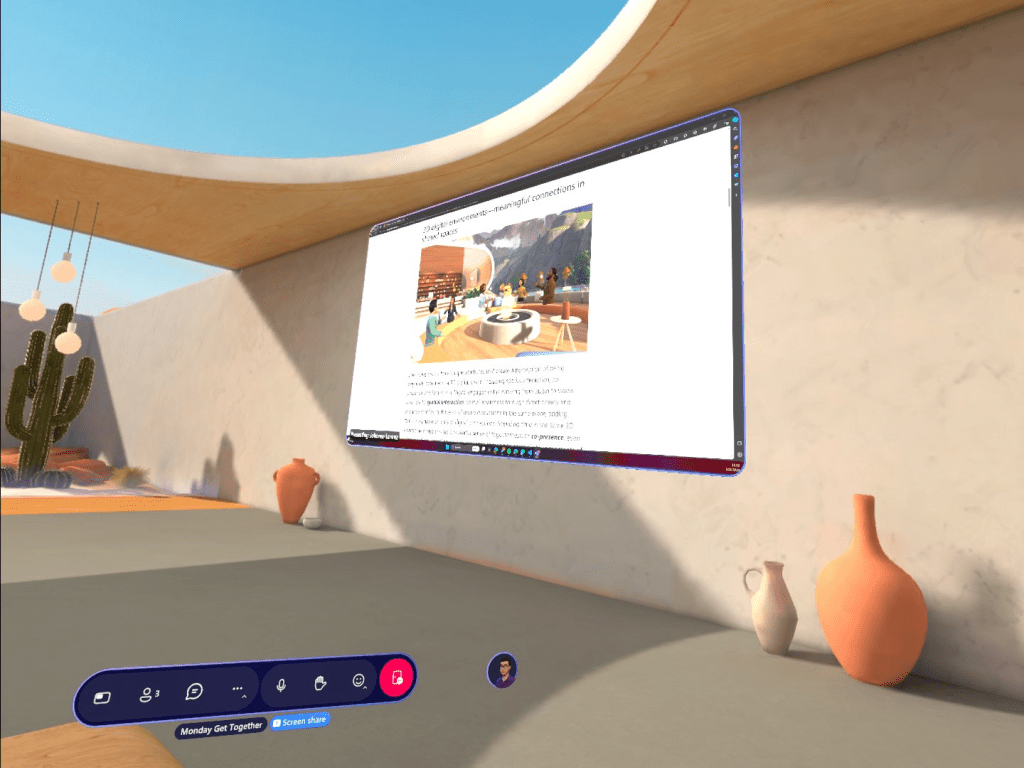
The content area also displays users who have joined the meeting using the traditional Teams meeting experience, but audio for example is not yet coming through.
Experiencing the Mesh in VR
The real fun and interesting part of Mesh is accessing immersive spaces using a Virtual Reality headset with the Microsoft Mesh app. Currently, Meta’s Quest 2, 3, and Quest Pro are supported with Mesh.
Signing into the Mesh app is done using device login, so computer or mobile device needs to be accessible. Device login is quite simple, just enter the code provided by Mesh app to device login screen, and sign-in with your work account. That’s it!
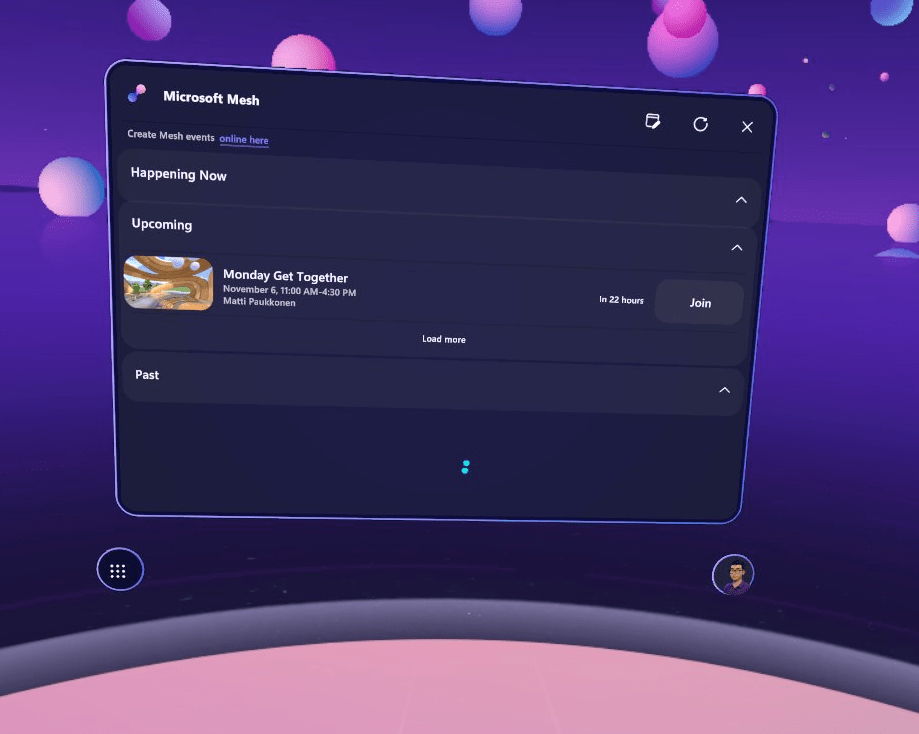
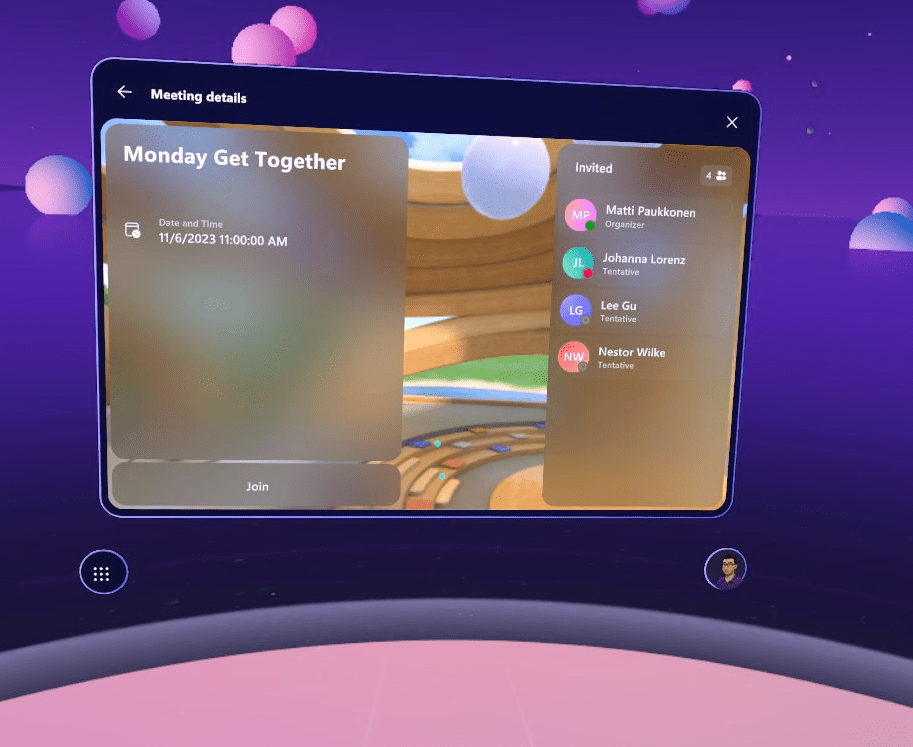
The Mesh app displays a dashboard of meetings, where immersive meetings can be joined. Meeting details and invited participants can be shown in the meeting details.
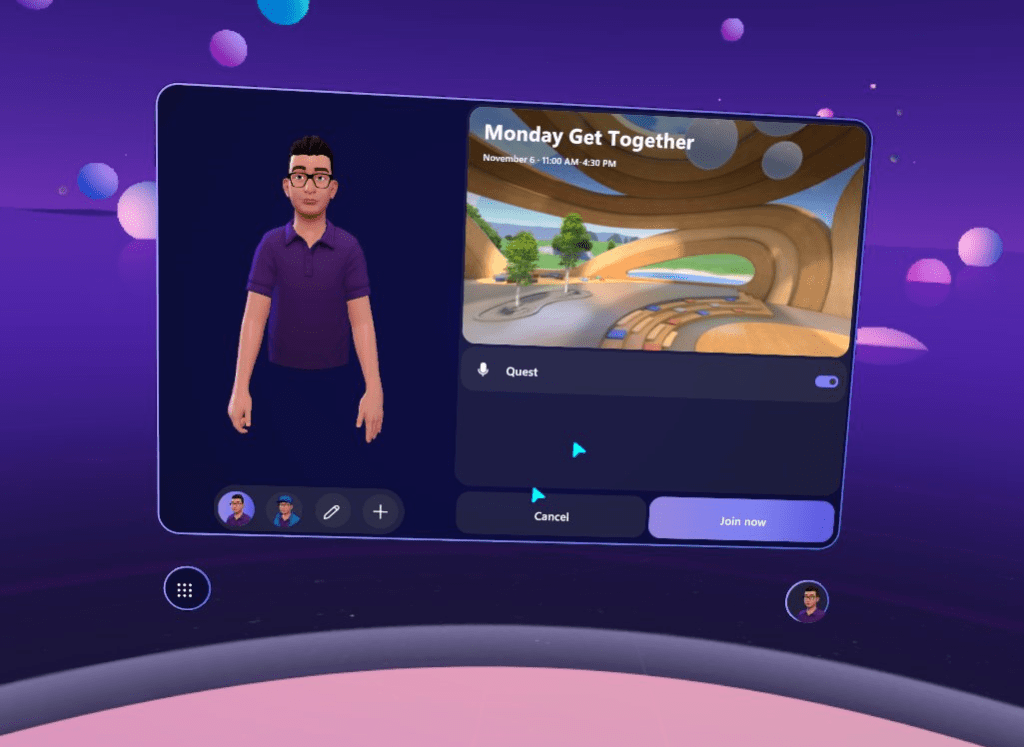
The avatar is chosen on the meeting join screen. It’s also possible to open the Avatar editor to modify existing or create an avatar using the VR headset.
Controls, gestures, chats…
Controls are also simple. Of course, turning your head when looking around. The right thumb stick is for turning and teleporting. The left thumb stick is for moving around, and the front trigger button is for clicking, sitting, and grabbing things.
Hand gestures can be used to express yourself or pointing at things. Several gestures are supported, which can be easily used with Quest’s controller.
- Open palm – nothing pressed
- Fist – Grab button (the middle finger button)
- Pointing with index finger – Front trigger button
- Thumb up – A button
- Finger gun – A + trigger button
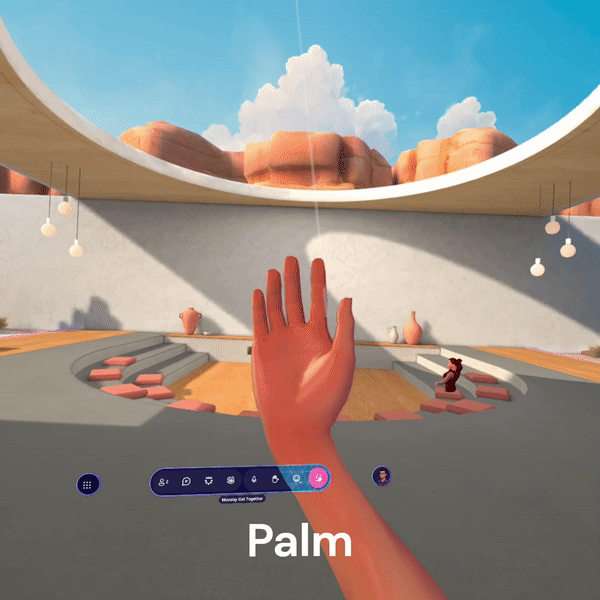
Of course, you can also wave or raise a hand using controllers.
Hand movement and gestures are valuable for making presentations and discussion more natural, so it’s really important to learn how to use these.
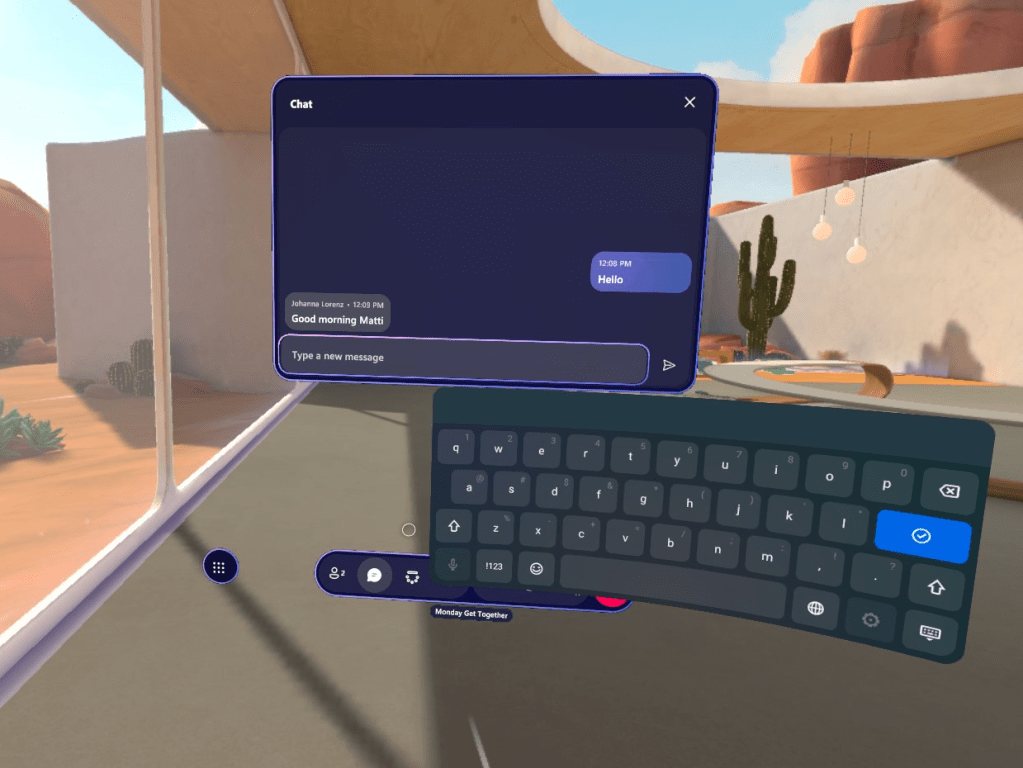
Meeting chat is also available, and you can have chats with Quest’s virtual keyboard.
Microsoft Mesh – is it just for fun?
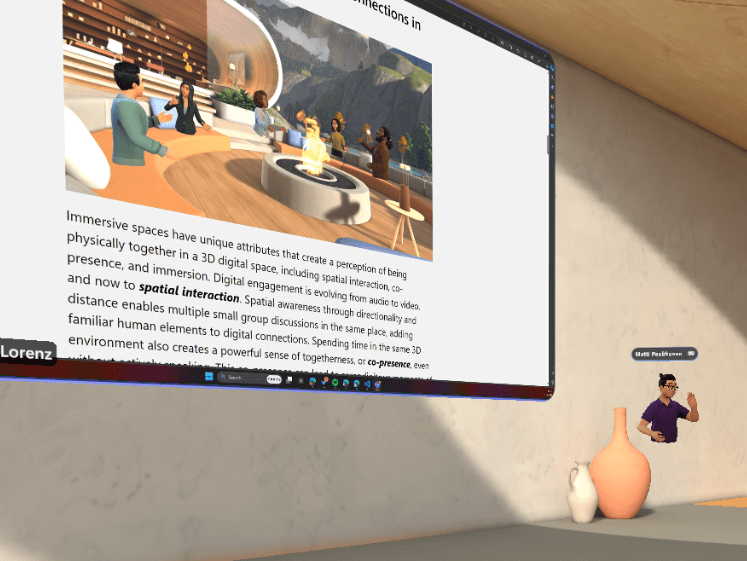
Microsoft Mesh is not just for fun. The experimentation might begin doing something fun together and learning on the way. There is a place in our digital work environment for Mesh, especially when we meet each other in online mode. In traditional Teams meetings, we’re limited to one person speaking at a time, which can be quite inconvenient, especially for large company gatherings where we want to encourage free-flowing discussions. Of course, you could use breakout rooms for small group conversations, but again, it’s not the same since people cannot freely switch rooms.
Imagine being able to walk around and have discussions in different areas, just like in real life. This opens so many possibilities for networking, one-on-one conversations, and focused group discussions. No more being stuck in one place or restricted to small breakout rooms. With Mesh, people can freely switch between groups, or simply explore and join interesting conversations as they wander around.
I have been hosting several events in virtual reality using Altspace VR and Spatial platforms, and my personal experience is that people were not ready adopting these tools yet because a separate application or account was needed for participation. Also, quite commonly people think that accessing these experiences requires a VR headset. Microsoft Mesh might lower the bar for adoption since people can use the same tools and accounts, which they already use for other daily tasks.
Discover more from Enabling the Future of Work with Matti
Subscribe to get the latest posts sent to your email.
